Programming Projects
Screen Capture Utility
Introduction - Foreword-Preamble
As is usual with all my Projects and Applications - this one being no exception! - a manual is always written up to cover the general specifications, and to outline all the various elements concerning the application, more for my future reference than anything else!There is Really very little that can be said regarding this Simple Utility, as the title says it all ... It simply Captures a Full Size Image of the Screen including the current system Cursor if required.
NB. The Cursor is not normally processed as inclusive with a Screen Capture Utility, as this normally exists outside the normal capture range on another Layer, click the checkbox to include the currently displayed cursor with the screen capture! This is a system wide capture, and will save the cursor in current use, such as any of the option cursors in Photoshop, or in Drag and Drop operations etc ...
 |
 |
|
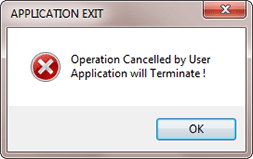
| Fig.1 - Opening Dialog | Fig.2 - Cancellation Dialog |
NB. The Opening and Cancellation Dialogs are by nature mutually exclusive, and are also scheduled as 'Always on Top' - this prevents desktop clutter, and allows the utility to be Selected or Cancelled as required, rather than the possibility of these dialogs being hidden or masked by already Open Windows, and as a consequence not actioned or activated properly ...
- On Clicking the OK Button a Plain Form Window will be opened and be Minimised and
reduced to an Icon on the TaskBar, this can be Maximised or Sized and used as the
capture Back Drop if required.
- As is Normal, the PrtScn Button Keypress is the activator for the Screen Capture
process itself, which provides the User with a Save Dialog, to allow the Captured
Screen to be Saved as a Standard Bitmap (.bmp) a JPEG (.jpg) or a PNG (.png) or to
be simply cancelled. Should the latter option be selected a warning dialog will
inform the User that a Save is not required as shown at Fig.3
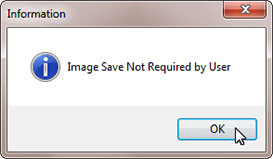
Fig.3 - No Save Required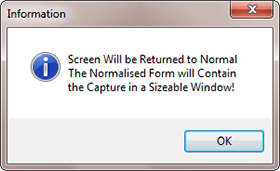
Fig.4 - ALT+F1 Normal Operations
The Screen Capture Utility/Application Software
Screen Capture is a Simple Application written in Visual Studio 2010 C# it spawns no additional files, accesses or uses no additional dll's, it doesn't access the Registry - uses no Context insertions - requires no formal installation, and is therefore extremely simple and safe to use, and requires only about 25KB of space ... Simply Run it! ... Use it! ... Remove it!NB. Obviously as in the case of the above image reductions, you will always find some blurring of images due to image reduction processing, this cannot be avoided, especially when dealing with very small images such as cursors, normal sized images will obviously display totally accurately!